Vinyl fencing has become one of the most reliable and attractive options for homeowners who want a balance of style, strength, and simplicity. When installed correctly, a vinyl fence can last decades with minimal upkeep. It stands up to rain, sunlight, and time while giving your property a clean, polished look. Whether you want more privacy, a safe space for kids and pets, or a way to define your yard, learning how to install a vinyl fence properly will help you achieve great results that last.
At Fantastic Fence, we’ve spent years perfecting the fence installation process for vinyl fences, combining craftsmanship and precision with durable fence materials that keep homes looking beautiful. This guide will show you step by step how professionals install a vinyl fence from planning to finishing touches.
Why Choose a Vinyl Fence Over Wood or Metal
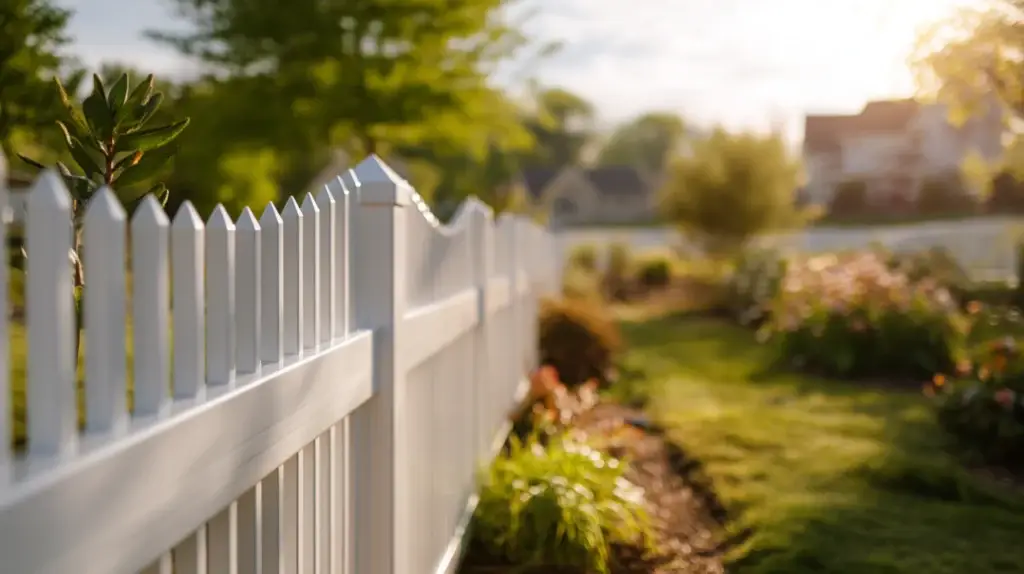
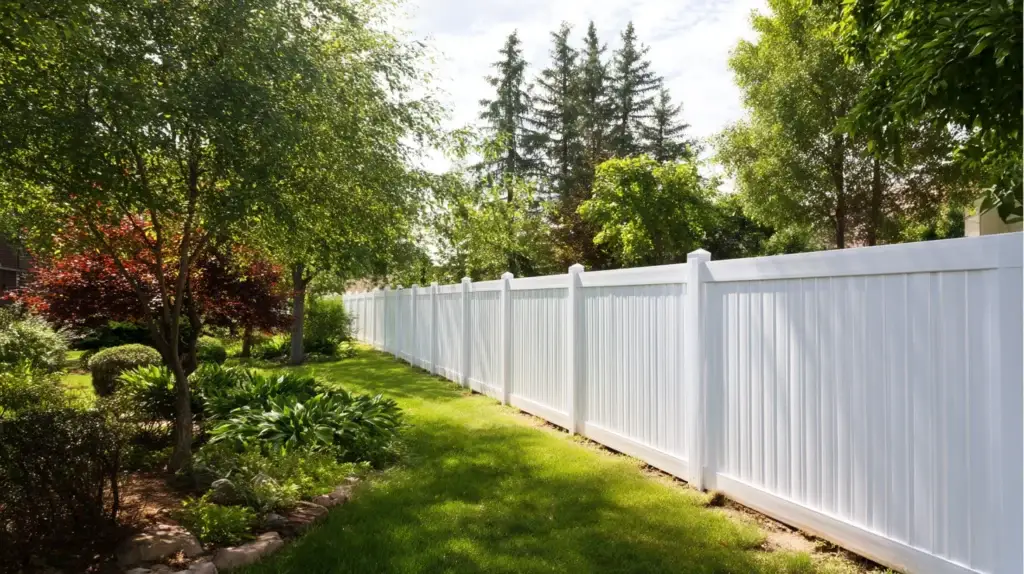
Many homeowners begin their search comparing vinyl fencing with wood fencing or chain link. While a wooden fence can offer traditional charm, it requires frequent maintenance and eventually breaks down due to rot, pests, or warping. Vinyl fencing, on the other hand, offers a modern alternative that stays strong and bright without painting or sealing. It won’t crack, splinter, or fade over time. Vinyl fences are also easier to clean and come in a variety of designs, from privacy panels to picket and decorative styles.
Another advantage is consistency. Vinyl fence panels are manufactured with uniform quality, ensuring each piece fits precisely with the next. You can expect straight lines, level rails, and tight corners that hold their shape for years. While wood fencing may need to be replaced after a decade, a vinyl fence can remain beautiful for 20 to 30 years with little effort.
What to Know Before You Install a Vinyl Fence
Installing a vinyl fence starts long before digging the first post hole. Planning and preparation make the biggest difference between a sturdy, professional-looking fence and one that shifts or leans over time.
Check Local Zoning Laws and Property Boundaries
Before you install a vinyl fence, review your local zoning laws and any HOA requirements. These rules determine how tall your fence can be and how close it can sit to property lines. At Fantastic Fence, we handle this step for our customers to prevent any surprises later. If you plan to dig holes for posts, also contact your utility company to mark underground lines before you start.
Measure and Mark the Fence Line
Use stakes and a string line to mark your entire fence line clearly. Begin at the corners and work along the property perimeter, marking post locations where each fence post will stand. A precise layout ensures the fence runs straight and evenly spaced across your yard. Always plan the position of gates and make sure there’s room for them to swing freely.
Choose Quality Fence Materials
The strength of a vinyl fence depends on the quality of the fence materials. Make sure your fence posts, rails, and panels come from a trusted manufacturer and follow the manufacturer’s instructions during installation. Vinyl posts should be reinforced and properly anchored in concrete to stay plumb and secure. At Fantastic Fence, we only use professional-grade materials designed to withstand weather and daily wear.
Tools and Materials You’ll Need
Having the right tools makes every step smoother. A tape measure, level, stakes, post-hole digger or power auger, and circular saw are essential. You’ll also need a rubber mallet, string line, wheelbarrow, and shovel for mixing and pouring concrete.
For materials, gather vinyl fence posts, terminal posts, corner posts, end posts, fence panels, rails, pickets, post caps, gate hardware, gravel, and concrete mix. These materials will give you everything you need to install vinyl fence posts and assemble a sturdy structure that will last for decades.
Step-by-Step Vinyl Fence Installation Process
Installing a vinyl fence is straightforward when you take your time and follow each stage carefully. Here’s how to install a vinyl fence from the ground up.
Step 1: Plan and Layout the Fence Line
Begin by staking out corners and marking post locations with a string line. Check measurements twice to ensure each section lines up evenly with your yard layout. Remember to leave enough space for the vinyl fence gate and to account for uneven ground. The key to professional-looking vinyl fences is precision at the planning stage.
Step 2: Dig Post Holes
Next, use a post-hole digger or auger to dig post holes for your vinyl fence posts. Each hole should be roughly one-third the height of the post above ground and about three times as wide as the post itself. Add a few inches of gravel to the bottom of each hole for drainage. Good drainage helps the concrete stay dry and prevents frost heave or shifting over time. When you dig holes for corner or gate posts, make them slightly wider for added stability.
Step 3: Set the Vinyl Fence Posts in Concrete
Place each vinyl post into the hole and fill around it with concrete. Check that each post is plumb and aligned with the string line before the concrete sets. It’s best to work with two posts at a time, stretching a line between them to maintain level alignment along the fence line. Allow the concrete mix to cure completely before continuing. If you’re installing terminal posts, gate posts, or end posts, reinforce them with extra cement for strength. Fantastic Fence uses deep-set, reinforced post techniques to ensure every fence remains secure and straight.
Step 4: Install Rails and Fence Panels

Once the concrete has cured and the posts are steady, it’s time to attach the rails and panels. Depending on the style of vinyl fencing, rails may slide into routed post openings or attach with brackets and screws. Use a drill to drive screws securely, ensuring the panels are held firmly in place. Start with the bottom rail, making sure it’s level and flat. Then slide the fence panels into place and secure them. Continue installing panels between posts along the entire fence line. Always follow the manufacturer’s instructions for proper spacing and fit.
If your yard has a slope, you can install the fence using a stepped or racked method. Stepped fences keep each section level, while racked fences follow the ground’s contour for a seamless look.
Step 5: Install the Vinyl Fence Gate
When it’s time to install the vinyl fence gate, focus on strength and smooth movement. Gate posts must be reinforced with additional concrete or metal inserts. Attach the hinges securely to the gate posts, align the gate carefully, and install latches that close tightly. Test the swing to ensure it moves easily without sagging. Adjust hinges or hardware as needed for a balanced fit. Make sure the gate swings freely to the other side without obstruction.
Step 6: Add Finishing Touches
Once all panels and gates are in place, finish your project by installing decorative post tops or caps. Fill any remaining space around the posts with dirt and compact the soil gently. Clean the surface of the vinyl fencing with mild soap and water to remove any dust. Check alignment one last time to make sure every post is plumb, every panel is straight, and each rail is level. The result should be a clean, even fence that enhances your yard and adds instant value to your house.
Pro Tip: Precision Matters
Many DIY projects fail because small mistakes early on create bigger issues later. If fence posts aren’t set straight or post holes aren’t deep enough, the entire fence line can shift. Professional installers know how to install vinyl fence posts with exact depth, spacing, and plumb alignment. At Fantastic Fence, we take time to measure every detail so that every vinyl post stands strong and perfectly aligned.
Common Mistakes to Avoid When Installing a Vinyl Fence

Even with careful planning, some homeowners run into problems during fence installation. Avoid these common errors to save time, money, and frustration.
- Failing to call the utility company before digging post holes
- Ignoring local zoning laws or property line boundaries
- Setting fence posts too shallow or skipping concrete reinforcement
- Forgetting gravel at the base of each hole
- Over-tightening screws or using the wrong brackets
- Cutting panels without using a proper circular saw
- Neglecting to check that posts are level and plumb before the concrete cures
- Rushing the curing process instead of allowing the concrete to fully set — always wait for the concrete to harden completely before proceeding with installation.
Each of these mistakes can lead to leaning fences, uneven rails, or panels that don’t fit correctly. Taking your time and following a clear process ensures your vinyl fencing will look great and last.
Should You DIY or Hire a Professional Fence Installer?
Many homeowners start a vinyl fencing project thinking it will be a quick weekend job, only to find it takes more skill and time than expected. Between digging dozens of post holes, setting posts level, and following precise measurements, it’s easy to lose accuracy. A professional fence installer or general contractor will have the equipment, crew, and experience to complete the job correctly.
Hiring a trusted company like Fantastic Fence means your installation will meet all codes, stay straight, and last for decades. Our installers know how to install a vinyl fence efficiently without wasting time or materials. We handle layout, permits, digging, and cleanup so you don’t have to worry. The result is a beautiful, durable fence that enhances your property from day one.
How to Maintain a Vinyl Fence After Installation
One of the biggest benefits of vinyl fencing is that it requires almost no maintenance. A quick rinse with a hose and mild soap will remove most dirt or residue. Inspect your fence annually for loose screws, shifted posts, or debris around the base. If any panels or rails need to be replaced, they can be swapped out easily without removing the entire section.
Avoid using harsh chemicals or power washers, as these can damage the vinyl surface. When trimming grass near the fence line, keep trimmers away from the base to prevent scratches. Vinyl fences don’t rot, rust, or peel like wood fencing, making them ideal for busy homeowners who prefer low-maintenance solutions.
Frequently Asked Questions About Vinyl Fence Installation
How long does it take to install a vinyl fence?
Most vinyl fence installations take between two and four days depending on yard size, number of posts, and weather conditions.
Do vinyl fences need maintenance?
Vinyl fences only need occasional cleaning with mild soap and water. They never need paint or sealant.
Can vinyl fences handle strong wind?
Yes. When vinyl fence posts are set deep in concrete and aligned properly, they withstand strong winds easily.
How much does a vinyl fence cost to install?
Most homeowners spend between $25 and $40 per linear foot. The total cost depends on height, style, and length.
Can you install a vinyl fence on uneven ground?
Yes. Vinyl fence panels can be stepped or racked to follow the slope of your yard, keeping the top rail consistent across the fence line.
Why Homeowners Trust Fantastic Fence for Vinyl Fence Installation
At Fantastic Fence, every fence we build reflects the pride we take in our craftsmanship. Our experienced crew understands how to install a vinyl fence the right way, using proven techniques to ensure long-lasting strength and beauty. From the first stake to the final gate latch, we handle the entire process with precision and care.
We believe a fence should do more than define your property. It should complement your home, provide security, and require little upkeep. That’s why we use only the best vinyl fencing materials and pay attention to every post, rail, and panel we install. Homeowners trust us because we deliver quality that lasts and service that exceeds expectations.
Ready to transform your property with a beautiful, low-maintenance vinyl fence? Contact Fantastic Fence today for your free estimate and discover how easy it is to install a vinyl fence that looks great, lasts for decades, and makes your house stand out for all the right reasons.