When homeowners begin planning a new fence, one of the first questions they ask is simple, how long does it take? Understanding the steel fence installation timeline helps set realistic expectations and removes much of the stress that can come with starting a fence project. While many people picture weeks of construction around their yard, the truth is that most residential projects move faster than expected once installation begins. The full fence installation timeline includes several stages, from planning and preparation to the final adjustments after the fence panels are installed. Each stage of the fence installation process plays an important role in the strength and longevity of the fence. For most residential projects, the installation team may only spend a few days actively working in the yard, yet the total project timeline can stretch across one to three weeks depending on several key factors. These factors include material ordering, property surveys, soil conditions, weather considerations, and local requirements. By understanding the entire process from start to finish, homeowners gain a clearer picture of the installation timelines and what to expect along the way. This guide walks through the entire process so you can see how a new fence comes together and why the installation time often moves faster than homeowners anticipate.
The Typical Steel Fence Installation Timeline
The steel fence installation timeline usually follows a predictable sequence. Most residential projects begin with planning and measurements, followed by preparation, installation, and final inspection. The early preparation phase typically includes the initial consultation, property survey if needed, and confirming property lines so the fence line is placed correctly. After planning is complete, the fence company orders the fence material and schedules material delivery. Material availability can sometimes influence the project timeline, especially if specialty panels or gates are required. Once materials arrive and preparations are finished, the physical fence installation can begin. For most residential projects, installation time for the actual build is typically one to three days depending on fence length and yard conditions. While the installation itself may be quick, the total project timeline can extend slightly because of permit approvals, utility marking, and material ordering. Many homeowners are surprised to learn that the active installation time is often the shortest part of the entire fence installation process. The work happens efficiently once preparation is complete and the installation team arrives.
Step 1 | Planning Your Steel Fence Project
Every successful fence installation begins with professional planning. This early stage helps homeowners understand the project timeline and ensures the entire process moves smoothly once installation begins. During the initial consultation, the fence company meets with the homeowner to discuss goals for the new fence and the property’s security needs. Measurements are taken to determine fence length and identify the best locations for the fence line. This step also helps confirm property lines so the fence is placed correctly without crossing neighboring boundaries. Confirm property lines early in the process to avoid potential disputes later. Professional planning also includes discussing fence type, fence material options, and gate locations. Some homeowners prefer the traditional strength of steel fencing or wrought iron designs, while others compare alternatives such as wood fences and chain link fences, or vinyl fences. Choosing the right fence material helps determine installation speed and long term durability. During this planning phase, the fence company also reviews local requirements and any guidelines from a homeowners association. These rules may affect fence height, design, or placement. Careful planning ensures the project begins with clear communication, accurate measurements, and timeline expectations that homeowners can trust.
Step 2 | Utility Marking and Site Safety
Before any digging begins, it is essential to locate underground utilities. Utility lines such as gas, water, internet cables, and electrical service often run below the yard along the fence line. Marking underground utilities prevents damage and protects everyone involved in the fence installation process. Utility marking is typically requested through the national 811 system, and technicians visit the property to mark underground lines with paint or flags. This process normally takes two to three business days depending on the location. While it may seem like a delay, it is a critical safety step that helps prevent accidents during post hole digging. Once underground utilities are marked, the installation team can safely dig holes and prepare the ground for fence posts. Taking this step seriously ensures the installation process begins safely and prevents unexpected issues that could delay installation later.
Step 3 | Permits and Local Regulations
Local regulations sometimes influence the fence installation timeline, especially when homeowners need to understand whether a fence permit is required. Many cities allow backyard fences under a certain height to be installed without formal permits, but local requirements can still apply depending on the property location. For example, front yard fencing or corner lots may have stricter rules to maintain visibility and neighborhood appearance. Some communities require approval from a homeowners association before homeowners install a fence. Permit approvals and association reviews can vary depending on the area, and this step can significantly affect the project timeline. In some locations approval happens quickly, while in others it may take several days. Professional contractors typically assist homeowners with understanding these rules and completing any necessary paperwork. Handling these steps early in the preparation phase helps avoid delays once installation begins. When permits and approvals are addressed before work starts, the installation team can move forward confidently and focus on the build.
Step 4 | Preparing the Yard for Fence Installation
Once planning and approvals are complete, the next step is preparing the yard. This preparation phase ensures the installation team has clear access to the fence line and can work efficiently. If an older fence already exists, the crew removes the previous structure before installing the new fence. Clearing the area allows the team to mark post holes and measure precise spacing for fence panels. The installation team also marks locations for gates and corner posts along the fence line. This stage includes checking for obstacles such as landscaping, tree roots, or uneven ground that could influence installation speed. Soil conditions also play an important role in preparation. Rocky soil can make post hole digging more challenging, while loose soil may require additional care during post setting. By addressing these conditions early, experienced crews ensure the installation process continues smoothly once the actual build begins.
Step 5 | Installing the Fence Posts
Fence posts form the foundation of every strong fence. Proper post installation ensures the entire structure remains stable for many years. The installation team begins by digging post holes at measured intervals along the fence line. Each hole is placed carefully so the fence panels will connect with proper alignment. Dig holes deep enough to provide strong support for the fence posts and prevent movement over time. Once the holes are prepared, steel posts are placed into position and checked for precise alignment. Setting posts correctly is critical to the durability of the fence. Concrete is poured around each post to anchor it securely in the ground. This stage is known as post setting and is one of the most important parts of the installation process. Careful handling during post installation ensures the posts remain straight and evenly spaced. Professional installers take time to confirm proper alignment before the concrete begins to harden. This step creates the solid framework that supports the rest of the fence installation.
Step 6 | Installing the Fence Panels
After the fence posts are secure, the next stage moves quickly. Fence panels are installed between the posts to create the finished fence structure. Many modern steel fences use pre fabricated panels that simplify the installation process. These panels attach directly to the posts using brackets or fasteners designed for the specific fence type. Because the panels are manufactured to consistent measurements, installation speed increases significantly compared with building a fence from scratch. The installation team carefully positions each panel along the fence line to maintain proper alignment. Pre fabricated panels allow experienced crews to complete large sections of the fence in a relatively short installation time. The use of these panels helps keep installation timelines predictable and efficient for most residential projects.
Step 7 | Installing Gates and Hardware

Once the fence panels are in place, attention turns to gates and hardware, including decisions about welded steel frames for gates. Gates are essential for accessibility while maintaining the property’s security. Installing gates requires careful measurements and proper alignment to ensure they open and close smoothly. Gate posts are often reinforced because they support more weight and movement than standard fence posts. Hinges, latches, and locking mechanisms are installed with precise alignment to prevent sagging over time, which also helps reduce the chance of common problems that require automatic gate troubleshooting checks. Gate installation may add slightly to the overall installation time depending on the size, number, and type of gates required, especially when homeowners are considering security fence gate options and costs. Larger entry gates for driveways or custom decorative gates may require additional adjustment during installation, and over time homeowners may need guidance on troubleshooting and fixing common gate issues. Professional installers take time to confirm the gates operate correctly before moving on to the final inspection.
Step 8 | Final Inspection and Cleanup
After the fence is fully assembled, the installation team performs a final walkthrough of the entire fence line. During this stage, the crew checks for precise alignment across all panels and posts. Hardware is tightened and gates are tested several times to confirm proper operation. This stage also includes final adjustments to ensure the fence sits evenly along the property lines. The team removes leftover materials and debris from the yard so the property is clean once the installation is complete. These final adjustments complete the fence installation process and allow homeowners to enjoy their new fence immediately.
Factors That Can Affect the Fence Installation Timeline
While most installation timelines follow a predictable schedule, several key factors can significantly affect how long a project takes. Soil conditions are one of the most common variables. Rocky soil can slow post hole digging, while loose or sandy soil may require additional stabilization during post setting. Weather considerations also influence installation timelines, and many homeowners wonder whether a fence can be installed in the rain. Heavy rain, frozen ground, or extreme heat can delay installation or slow curing times for concrete posts. Weather delays are sometimes unavoidable, but experienced crews monitor forecasts to minimize disruptions. Tree roots along the fence line can also affect the installation process because they make digging more difficult. Uneven ground may require additional adjustments during post installation to maintain a level fence line. Material availability can also affect project timelines. If specialized fence material must be ordered, material delivery may add time before installation begins. These factors vary depending on each property, but understanding them helps homeowners set realistic expectations for their fence project.
Comparing Steel Fences to Other Fence Types

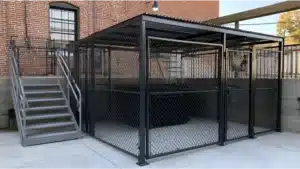
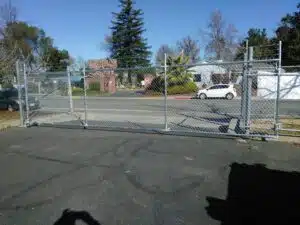
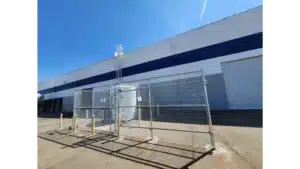
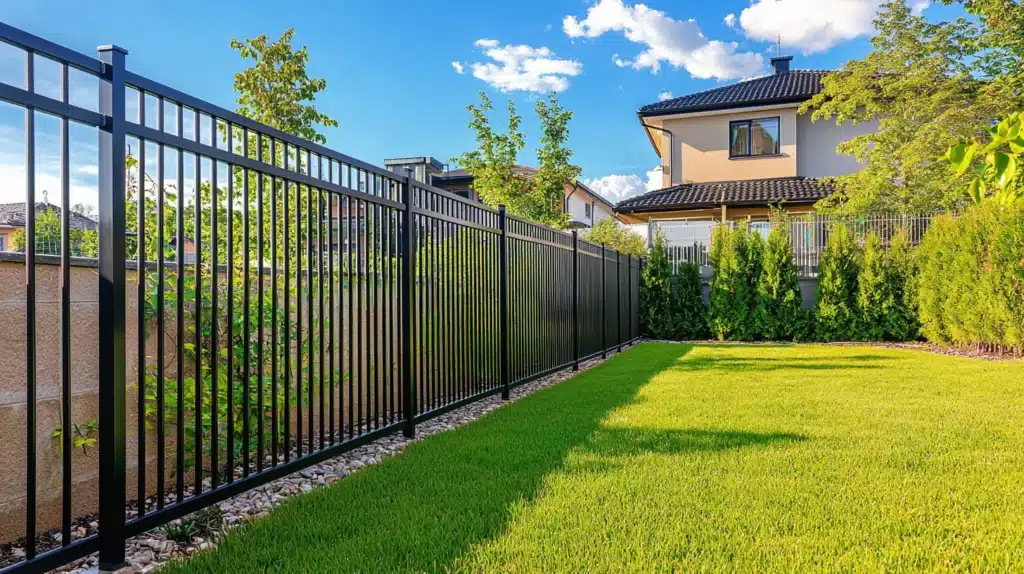
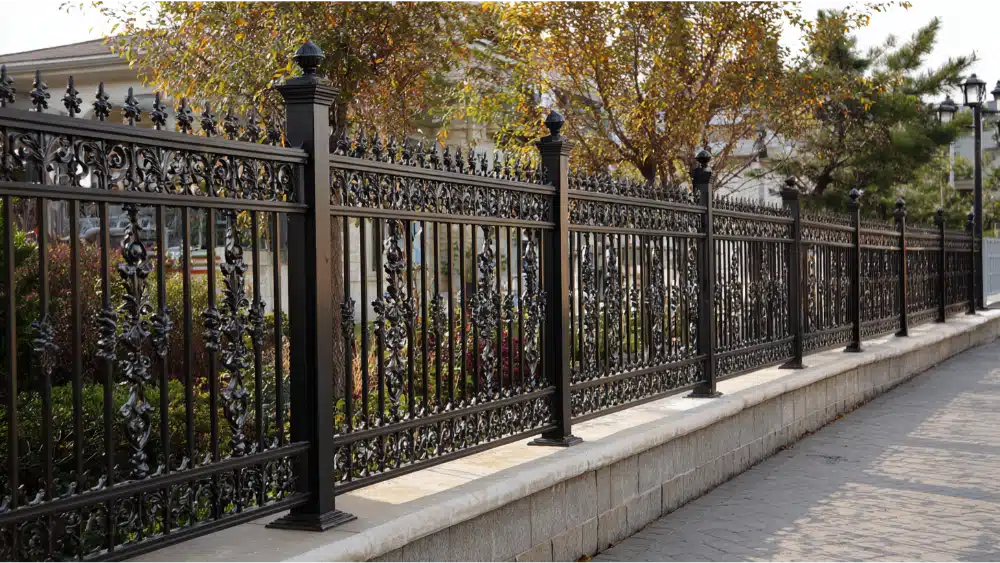
Different fence types require different installation timelines, and even details like choosing the best fasteners for a wood fence can influence how long on-site assembly takes. Steel fencing is often faster to install because many systems use pre fabricated panels that simplify assembly. Wood fences sometimes take longer because each board must be measured, cut, and attached individually. Vinyl fences also use panel systems, but adjustments may be required depending on terrain and spacing. Chain link fences and chain link systems are among the fastest fence types to install because they rely on stretched mesh rather than rigid panels. However, many homeowners choose steel fencing because it offers greater durability and visual appeal compared with chain link. Wood fences provide a natural appearance but may require more maintenance over time. Vinyl fences offer a clean appearance but may not provide the same strength as steel. Each fence material has its own benefits, but steel fencing often provides an ideal balance of durability, style, and installation speed.
Preparing Your Property for Installation Day
Homeowners can help ensure the fence installation process goes smoothly by preparing their yard before installation day, starting with a clear plan and a professional fence estimate and consultation. Clearing furniture, decorations, or equipment from the fence line allows the installation team to work safely. Pets should remain inside or in a secure area while installation takes place. If irrigation systems run along the fence line, marking those areas can help prevent accidental damage during digging. Good preparation supports clear communication between the homeowner and the installation team. When the yard is ready and access points are clear, professional fence installation can proceed efficiently without unnecessary interruptions.
Why Professional Fence Installation Matters

Choosing professional fence installation makes a significant difference in the quality and efficiency of the project, which is why it is important to know what to look for when hiring a fence contractor. Professional installers understand the entire process and can anticipate potential challenges before they affect the schedule. Experienced crews know how to handle soil conditions, adjust for uneven ground, and ensure precise alignment of posts and panels. Professional contractors also understand local requirements and can help homeowners navigate permits or homeowners association approvals. Working with a trusted fence company helps keep installation timelines predictable while ensuring the fence is built to last. Professional fence installation combines skill, planning, and careful handling of materials so the final result meets both structural and aesthetic expectations.
Frequently Asked Questions About Fence Installation
How long does it take to install a fence
Many homeowners ask how long does it take to install a fence on a typical residential property. The answer depends on fence length, soil conditions, and the chosen fence material. For most residential projects, the installation time is between one and three days once the installation team begins working.
What factors affect fence installation time
Several key factors influence fence installation time. Soil conditions, weather delays, and underground utilities can affect how quickly crews complete the work. Rocky soil, tree roots, or frozen ground can slow digging and post installation.
Can weather delay installation
Yes, weather considerations sometimes delay installation. Heavy rain or extreme heat can affect soil conditions and the curing time of concrete used during post setting.
What is the most common fence type
Several fence types are common for residential projects. Steel fencing, chain link fences, wood fences, and vinyl fences are all widely used depending on style preferences and security needs.
How long does the entire process take
The entire process from planning to completion usually takes one to three weeks depending on material ordering, permits, and scheduling.
Final Thoughts on Fence Installation Timelines
Understanding the steel fence installation timeline helps homeowners approach their fence project with confidence. While the full project timeline includes planning, preparation, and approvals, the actual installation often happens quickly once work begins. Professional planning, careful post setting, and experienced crews ensure the fence installation process delivers strong and lasting results. A well installed fence improves privacy, enhances curb appeal, and strengthens the property’s security. When homeowners understand the entire process and the factors that influence installation timelines, they can move forward with clear expectations and excitement about their new fence.