Key Takeaway
To lay out a fence line before you build, first confirm the property line, get neighbor agreement, check local height and setback rules, and call 811 at least 2 working days before digging. Then drive stakes at every corner, pull mason’s line drum-tight between end posts, and mark post centers at 6 to 8 feet apart. Walk the entire string from multiple angles and approve the layout before any hole is dug. Getting the sequence right eliminates the costly mistakes that happen after concrete is poured.
Laying out a fence line means establishing exactly where the fence will sit, and getting everyone with a say to agree on it, before a single post hole is dug. The order is what matters: confirm the line, resolve the property, neighbor, and code questions, call 811, then stake and string the route so you can see the fence and approve it before anything is permanent. The physical part is simple. The expensive mistakes almost always come from skipping the steps that happen before the digging starts. It’s the cheapest part of the whole job. Since 2011, we’ve helped homeowners lay out fence lines across Sacramento, Placer, El Dorado, Yuba, Yolo, and Nevada counties, and the pattern is always the same: get the sequence right and the rest of the fence installation goes smoothly.
The Fence Layout Checklist at a Glance

Follow this in order. Skipping ahead is exactly where the “we found out after the concrete set” problems come from.
| Step | What it involves | When to do it |
|---|---|---|
| 1. Confirm the existing line | If you’re replacing, decide whether it goes back in the same place | First |
| 2. Establish the property line | Locate survey pins, existing markers, or order a survey | Before anything else if there’s doubt |
| 3. Get neighbor agreement | Required for any fence on a shared line | Before scheduling |
| 4. Check height limits, setbacks, easements | Zoning, HOA, corner-lot sight triangles, utility easements | Before ordering material |
| 5. Call 811 | Free utility marking, required for contractors, advised for DIY | 2 working days before digging, no more than 14 |
| 6. Stake and string the line | Physically mark the fence so you can see it and place gates | Day of installation, or earlier on request |
| 7. Walk and approve the line | Final confirmation before any hole is dug | Right before digging |
Step 1 — If You’re Replacing a Fence, Start With What’s There

Most fence replacements are straightforward. The new fence goes exactly where the old one stood. The line is already established, the neighbors already accepted it years ago, and there’s no reason to reopen a settled question. If you’re happy with the current layout, say so and we’ll put it back. That’s genuinely the easiest, fastest, and often the most affordable path.
The exception is when you want to move it. The most common version we see is a corner lot, where a homeowner realizes they own more land than their fence encloses and wants to push the fence out toward the street to gain backyard. That’s often possible, and it’s worth checking before you rebuild in the same spot. A replacement is also a good moment to reconsider a few things while everything is open:
- Is the gate in the right place, or has it annoyed you for ten years?
- Did the old line cut off a strip of yard you’d rather have back?
- Is the fence following an awkward jog that could be straightened?
One caution before you commit: don’t assume the old fence proves the legal property line. It might, but it might not. More on that next.
Step 2 — Establish the True Property Line for Certain
If there’s any doubt about where your line runs, resolve it before you build. A fence built even a few inches over the line is an encroachment, and it can hand your neighbor a legal claim, which sometimes means tearing the fence out and rebuilding at your cost.
Here’s how we approach it. We look for existing markers first. Survey pins, usually iron pipes or capped rebar set at the lot corners, are often still there, sometimes a couple of inches under the ground beneath the sod. Subdivision plats, your recorded map, the deed, curb marks, and sidewalk scoring can help corroborate what you find. If there’s reliable physical evidence of the true property line, we work from it.
When markers can’t be found, we recommend a survey. In California, only a licensed land surveyor, or a legally authorized civil engineer, can definitively establish a boundary, and setting property-line monuments without that license isn’t permitted under the state’s Professional Land Surveyors’ Act. A survey is a real cost, but it’s a fraction of what it costs to remove an encroaching fence and start over. Our own approach matches this: on replacements we install where the old fence was unless you tell us otherwise, and if you have any concern about the line, we’ll point you to a survey company before we build.
Step 3 — Get Neighbor Agreement Before You Schedule
Any fence on a shared line needs your neighbor on board, in practice and in California, in writing. Under Civil Code § 841, adjoining owners are presumed to share equal benefit from a fence that divides their properties, and unless they agree otherwise in writing, they’re presumed equally responsible for the reasonable cost of building, maintaining, or replacing it.
That agreement isn’t just courtesy. If you plan to incur costs on a shared fence, the law requires 30 days’ prior written notice to each affected neighbor. The notice needs to describe the problem, your proposed solution, the estimated cost, how you’re proposing to split it, and the timeline. So the smart move is to settle layout, height, material, and cost-sharing in writing before you schedule anything.
This is the classic good neighbor fence situation, and handling it cleanly up front is how you avoid a dispute halfway through the job. When both sides have agreed on where the line sits and what’s going in, installation day is a formality instead of a negotiation. A quick note or comment in writing, even a short email confirming the plan, gives both of you a record to point back to later.
Step 4 — Check Height Limits, Setbacks, Easements, and Corner-Lot Rules
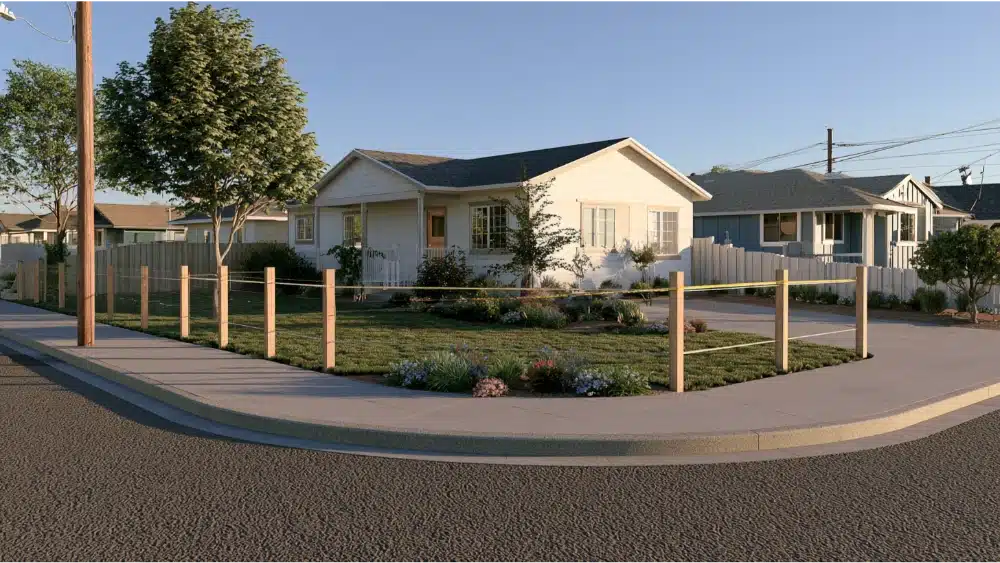
Do this before you order material, because these rules can change what you’re allowed to build. There are a few categories to run down. Zoning sets maximum heights. Setbacks control how close the fence sits to lines and streets. Utility easements matter because a fence built over one may have to come out if the utility needs access. Corner lots often have sight or visibility triangles that keep fences low near intersections. And if you’re in an HOA, the architectural guidelines and CC&Rs may limit style, height, and placement on top of everything else.
Rocklin is a useful local example. City guidance limits residential fencing to 6 feet in side and rear yards and 30 inches in the front yard, and it asks residents to contact the Permit Center, or the planner of the day, before starting a fence project. That’s especially worth doing on a corner lot or an unusual parcel. Knowing your desired height at this stage matters, because it decides whether you need a permit and how tall the fence posts have to be ordered.
Here’s why you can’t assume one figure covers the whole region. Sacramento County’s own guidance says side, side-street, or rear fences 7 feet or less can generally sit right on the property line without a minimum setback and without a permit. Same region, different rules. Confirm your own city, county, and HOA before building. Your local building department and our fence ordinance quick links are the right places to check rather than treating any single number as universal.
Step 5 — Call 811 Before You Dig
811 is free utility marking. It’s required for contractors and strongly advised for anyone doing this themselves. In California, you notify at least 2 working days and no more than 14 calendar days before you excavate. The day you call doesn’t count toward the two-day window, and the resulting ticket is valid for 28 days from issuance.
Before you call, pre-mark your dig area in white so the excavation zone is delineated. White paint, white stakes, white flags, or even white flour all work. Then wait for a positive response from every notified utility before you dig. The legal start time passing is not enough on its own; if one member hasn’t responded, you’re not clear.
Here’s the gap most guides skip: 811 does not mark private lines. Landscape irrigation, low-voltage lighting, gas to a barbecue, electrical to a shed or detached garage, a well, drainage, and pool electrical or gas lines are all your responsibility to identify. Knowing those post locations matters because the marked-utility tolerance zone is 24 inches on either side of a line, and inside that zone you dig with hand tools only. On our jobs, we call in and mark the public utilities before we arrive; you tell us where the private lines run.
Step 6 — Stake and String the Fence Line to Keep the Fence Straight
This is the hands-on part, and it’s what keeps your fence straight from the first post to the last. Work it in order.
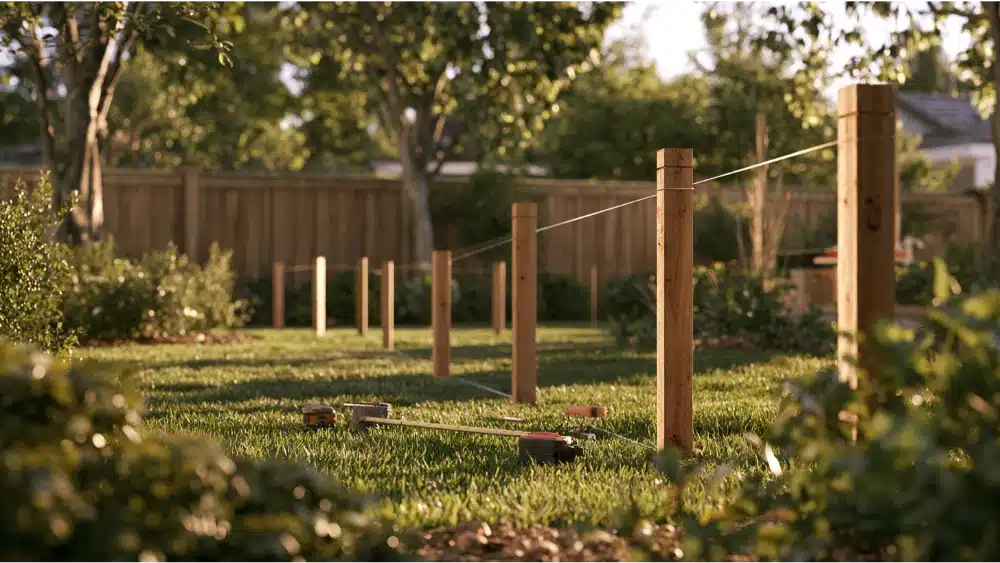
First, clear heavy brush and tall grass along the planned line so you can see the ground and pull a clean string. Seeing the ground helps you spot obstacles before they surprise you. Drive a wooden stake at each corner and end point, marking your end posts. These end points become the control point for the entire fence, so set the first post location carefully. Run mason’s line between the two points and pull it tight. A taut string line represents the finished fence line, and a tight string is what keeps your posts running in a straight line. A slack string gives you a crooked fence, every time, so keep tension on it the whole way. If a line has to span a long distance, a tensioning knot called a trucker’s hitch lets you pull the string drum-tight between the end posts without it sagging in the middle.
Mark your gate openings next, before you space the rest of the posts. Gate width shouldn’t be an afterthought you squeeze in later. Then mark the post-center locations along the string. Standard spacing is typically 6 to 8 feet, and you keep that distance consistent across the run so you don’t finish with an awkward short panel at one end. Mark each center with spray paint or a stake, and keep the string offset or high enough that it survives while you dig.
One practical note on access: we ask for 18 to 24 inches of clearance on both sides of the fence line before work begins, because tear-out and installation need direct room to work. Plan for that when you’re staking, especially near sheds, AC units, or dense planting.
Step 7 — Square the Corners and Keep Every Post Plumb and Straight
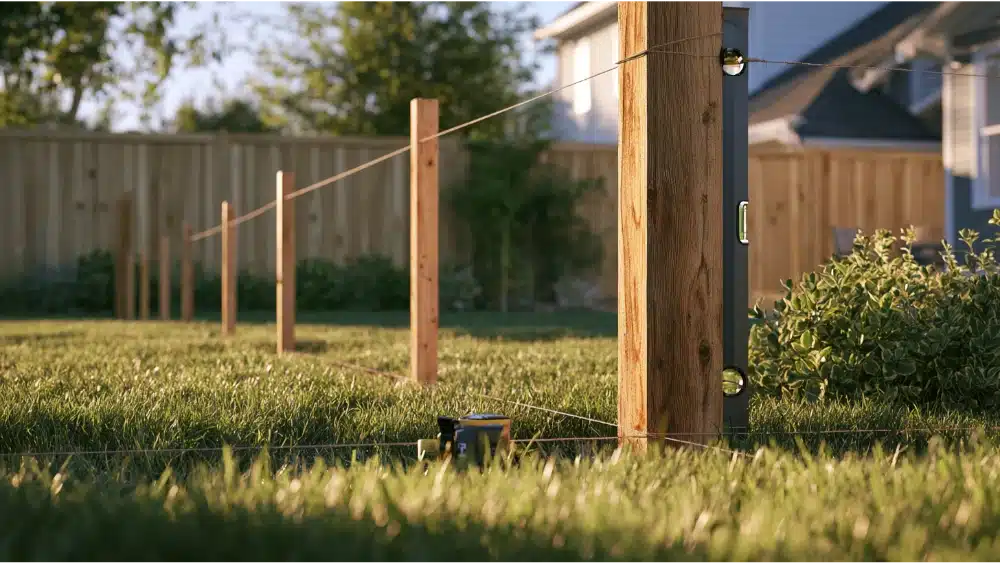
Square your corners with the 3-4-5 method. Measure 3 units along one line, 4 units along the other, and adjust until the diagonal between those points measures 5. When it does, the corner is a true 90 degrees. On longer runs, scale it up to 6-8-10 or 9-12-15 for better accuracy. A second string line running across the first can help you check alignment on both planes and confirm the posts stay straight along the whole route. As you install posts, hold each one against the string and use a level to keep the posts plumb before the concrete sets.
Irregular lots need careful measurement at each angle before you commit, so take your time where the boundary jogs. Slope is a layout decision too, not something to solve after digging. On a hillside you’ll either rack the panels to follow the grade or step them, and stepped fences leave triangular gaps at the bottom that may need filling. The slope also affects your post depth on the downhill side and whether the tops finish at the same height across the run, so decide which method makes sense now. If you want a level top instead of one that follows the grade, that decision changes where the rails and horizontal boards land.
Then walk the string line. Look at it from the patio, the driveway, the street, and the neighbor’s side. It’s much easier to shift a stake than to move a post once you’re pouring concrete around it.
Step 8 — Walk the Line and Approve It Before Any Hole Is Dug
This is the last check before concrete, and it’s the moment you can still change your mind for free. Once holes are dug and posts are set, changes to the structure get expensive fast. Walk it once more against this short list:
- True property line confirmed
- Neighbor signed off, if the fence is shared
- Gates placed and sized
- Height transitions and slope decisions made
- Private utilities identified
- Obstructions and plants noted
- Access clearance available on both sides
When you hire us, we walk the marked line with you before we dig, because a fence you’ll actually love starts with agreeing on where it goes. We hope this sequence saves you the headaches we’ve seen skipped steps cause.
Frequently Asked Questions
Do I need a survey before building a fence?
What if my old fence isn't on the property line?
Do I need my neighbor's approval to replace a shared fence in California?
Does 811 mark sprinkler or pool lines?
How do I keep fence posts straight and at the same height over a long run?
Questions About Your Layout? Let’s Walk the Line Together
If any part of this feels uncertain, that’s exactly what we’re here for. As a locally owned, licensed, bonded, and insured contractor (CSLB License #979657), we bring the same care to a fence installation on any site, from the first post to the last. We’ll come out, confirm the line, string it straight, and mark it with you before a single hole is dug. Call (916) 790-7100 to book your service or get a free on-site estimate, and we’ll walk the line with you.